Video Tutorial
Customizing your backdrop theme
Designer's Playbook
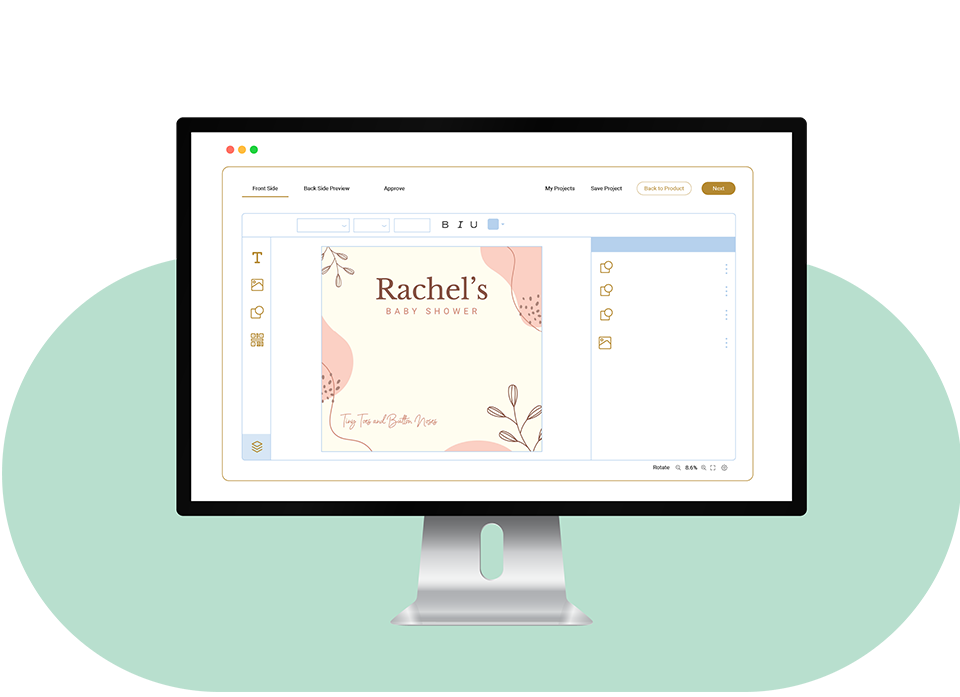
In this section, you'll discover a more in-depth guide on how to use our intuitive online design tool to edit themes or create your own artwork from scratch.
-
0.1 Text Formatting
Text vs Text Block
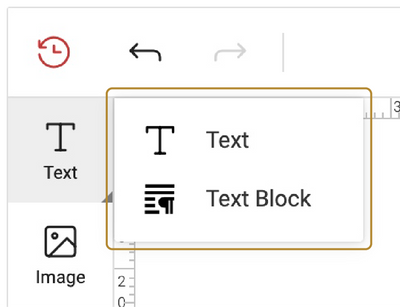
Select Text to create a textbox with no set width (no text wrapping).
Select Text Block to create a textbox with a set width and height (text wrapping).
Text Attributes
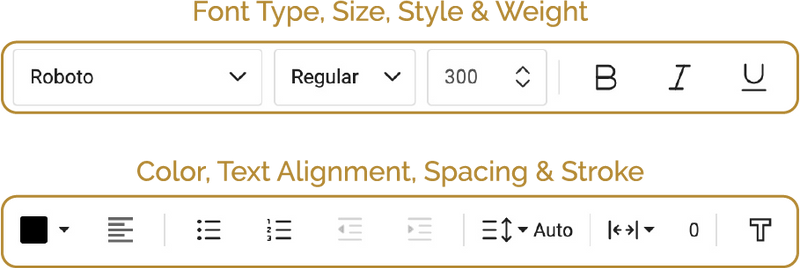
Double-click the text box to edit the text directly.
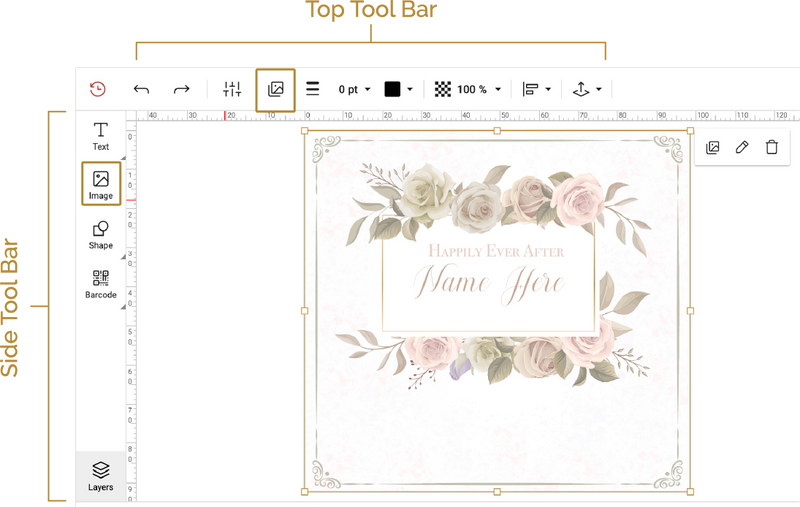
From here you can use the Top Tool Bar to adjust the size, style, weight, color, text alignment, spacing and stroke.
Border, Opacity & Shadows
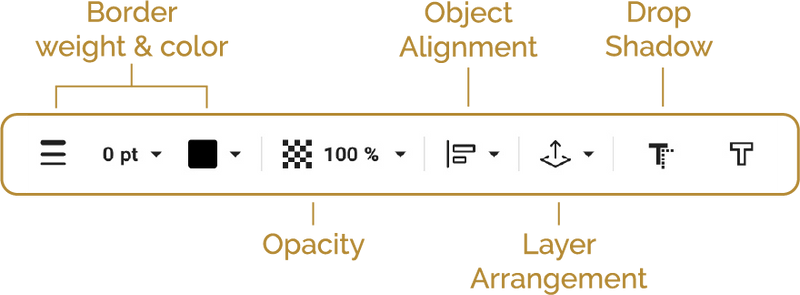
To access the additional attributes, Select the text layer then click the More Controls Arrow on the right side of the Top Tool Bar.
From here you can use the Top Tool Bar to adjust the text border thickness & color, opacity, alignment, arrangement, drop shadow.
-
0.2 Adding & Editing Images
Adding & Swapping Images
Select the Image Icon on the Side Bar to add an image to the canvas. You can select from the gallery or upload your own.
To swap out or replace an image on the canvas, select the image, then select the Image Icon on the Top Tool Bar or Pop-up Menu. These options can also be accessed by Right-Clicking on the image.
From here you can use the Top Tool Bar to adjust the image border thickness & color, opacity, alignment, and arrangement.
Editing and Deleting Images
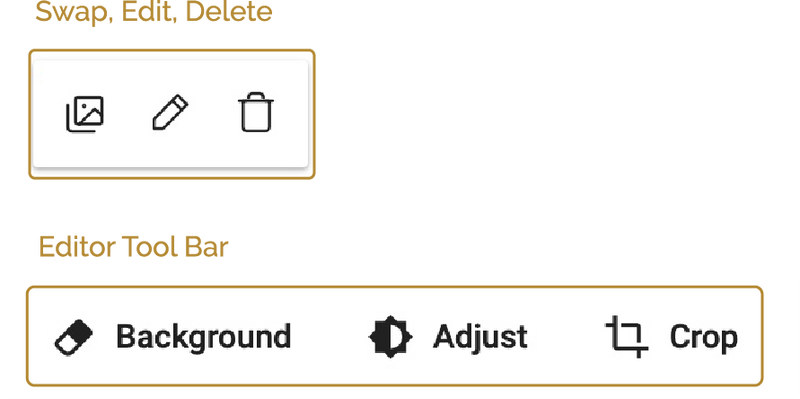
To edit an image, on the Pop-up Menu, select the Pencil Icon. This option can also be accessed by Right-Clicking on the image.
From here you can use the Editor Tool Bar to remove the Background, Adjust the brightness/contrast/saturation/hue and Crop.
To delete an image, on the Pop-up Menu, select the Trash Icon.
-
0.3 Object Formatting
Creating Shapes
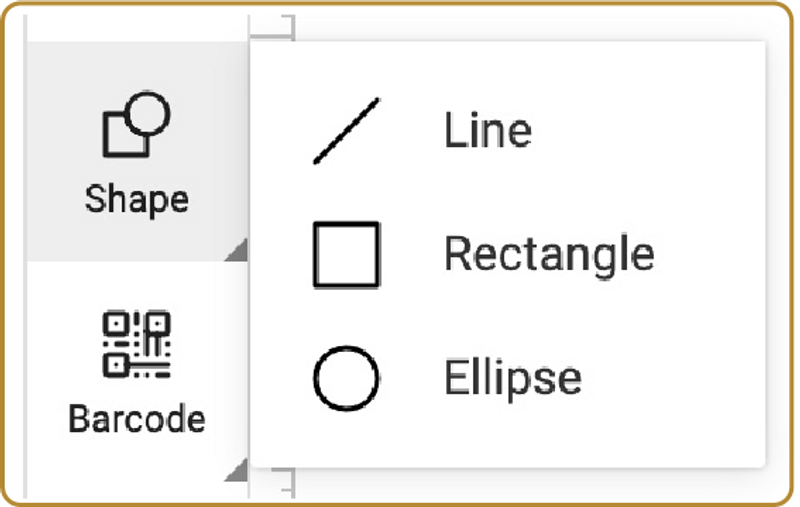
Use the Shape Icon on the Side Tool bar to add your desired shape. To enlarge the shape proportionally, Hold Shift while dragging the corner Handle.
Use the Rotation Icon to rotate the shape in any direction.
From here you can use the Top Tool Bar to adjust the shape border thickness & color, opacity, alignment, and arrangement.
Duplicating Objects
To duplicate an Object, Right-Click then select the Clone Object icon.

Creating QR Codes
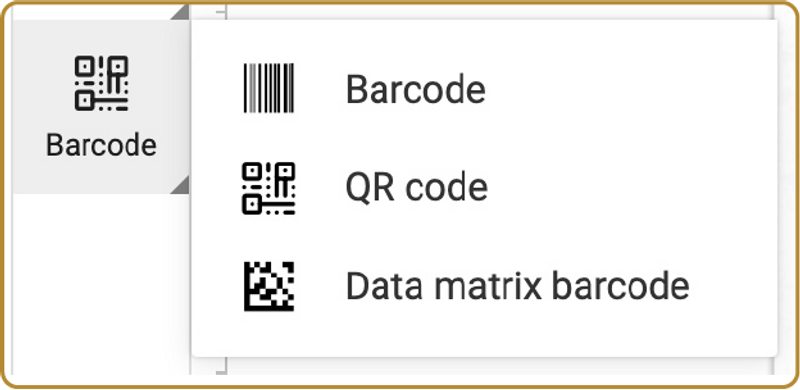
Select the Barcode Icon to create a Barcode or QR Code. When creating a QR Code, there are (4) kinds to choose from:
- Business Card
- Website URL
- Phone Number
- Code Data.
Follow us for more inspiration!
@backdrop_com #backdropmoments

